
WooCommerce
Payment Gateway
Transform your WooCommerce store with our seamless payment gateway integration.
Start Accepting Payments in Minutes. Transform your WooCommerce store with our seamless payment gateway integration. Follow this simple guide to install, configure, and start accepting payments effortlessly. Whether you’re a beginner or an experienced merchant, our step-by-step instructions will have you up and running in no time.
How to Set Up Your WooCommerce Payment Gateway
- Download the latest plugin
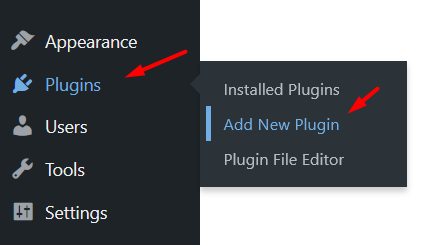
- Log in to your WordPress Admin Dashboard
- Navigate to Plugins >> Add New
- Upload the payment gateway plugin file.
- Click Install Now and wait for the installation to complete.
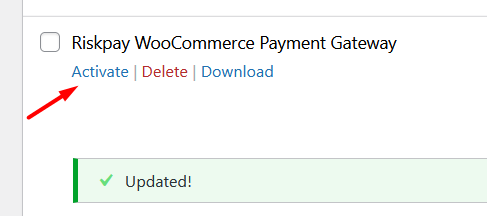
- Once installed, click Activate Plugin.
- Go to WooCommerce >> Settings >> Payments.
- Locate the payment gateway in the list and toggle it to Activated.

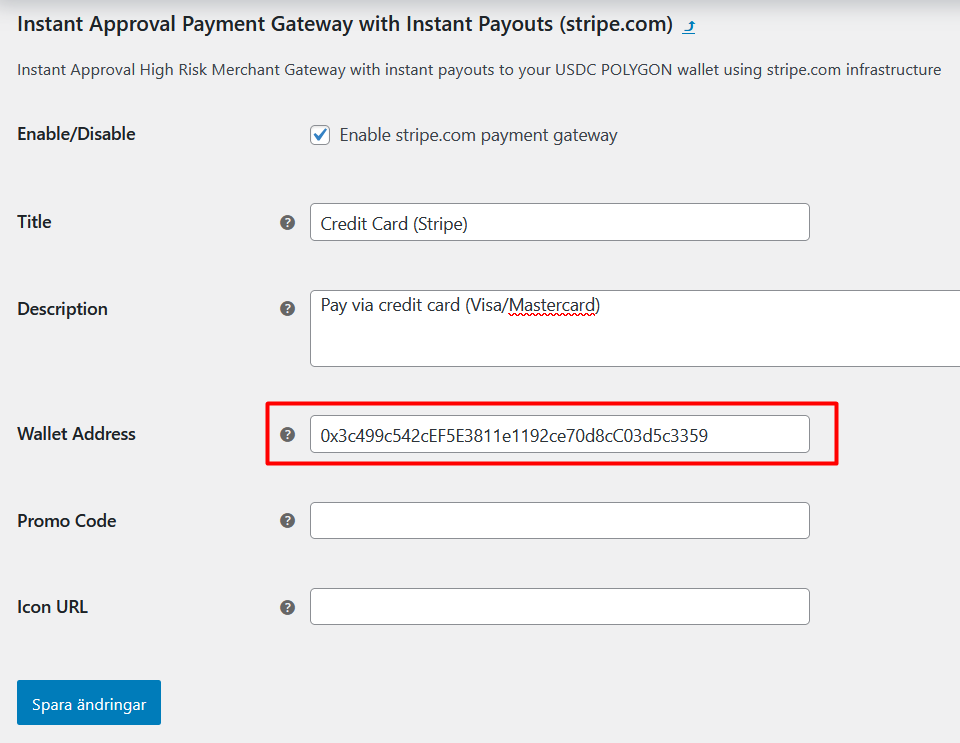
- In the payment gateway settings, find the field labeled Wallet Address.
- Enter your USDC Polygon (MATIC) wallet address to ensure instant payouts.
- Save your changes to proceed.
- Personalize the gateway by adding your brand’s logo.
- In the settings, look for the Logo URL field and paste the link to your preferred image.
- This step ensures a professional and branded checkout experience for your customers.
- If you have a promo code, add it to the field.
- Once configured, your payment gateway is ready to use.
- Customers can now choose from multiple payment options, including Credit/Debit Cards, Apple Pay, Google Pay, Revolut and more.
- Test the gateway by placing a sample order to ensure everything works smoothly.
You ask, we answer